
Welcome back to The Blossomer!
Our personalized acrylic luggage tag favors are popular for event planners throwing a celebration where guests are going to be traveling – destination weddings, bachelorette/bachelor parties, graduation parties, etc. They are one of the most useful and fun keepsakes, but still inexpensive party favors! We know figuring out how to get the personalized tag insert into the acrylic luggage tags can be difficult at times. We’re here to help! Check out our step-by-step instructions and images below.
Step #1:
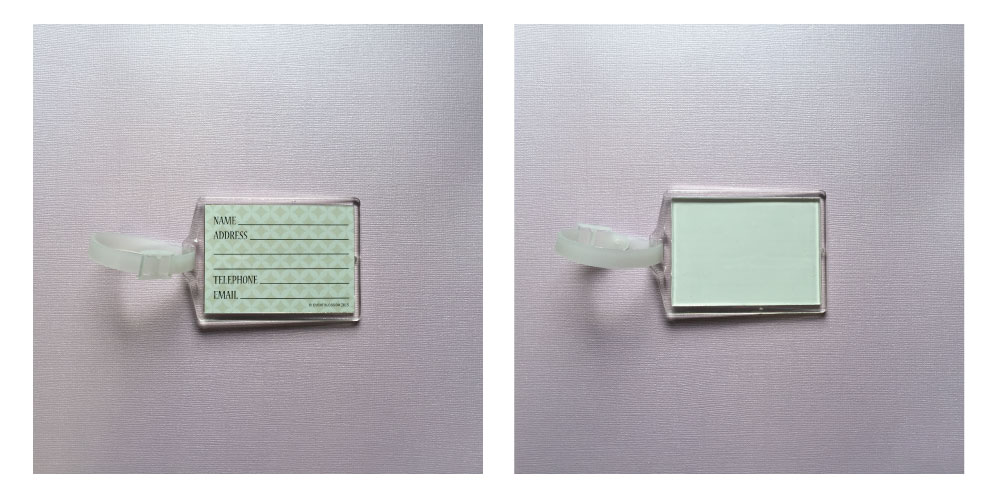
Make sure the luggage tag is face up. This means the contact info insert that is already in the acrylic tag will be face down.
Step #2:
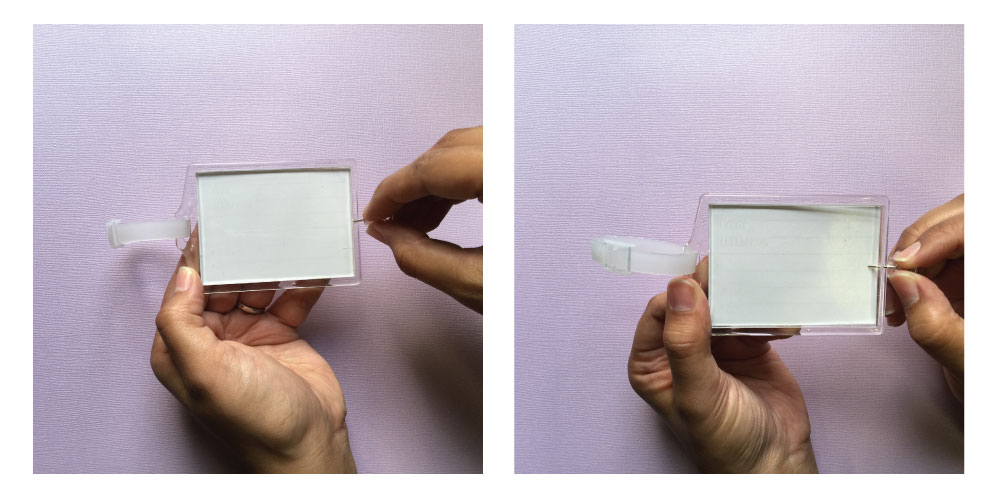
You will see a small hole in the center right side of the tag, opposite of the plastic loop. Take a small pointed object, such as a paper clip or push pen, and insert it into the hole. Gently push down on the object inserted to prop open the back plate and get the top to pop off.
Step #3:
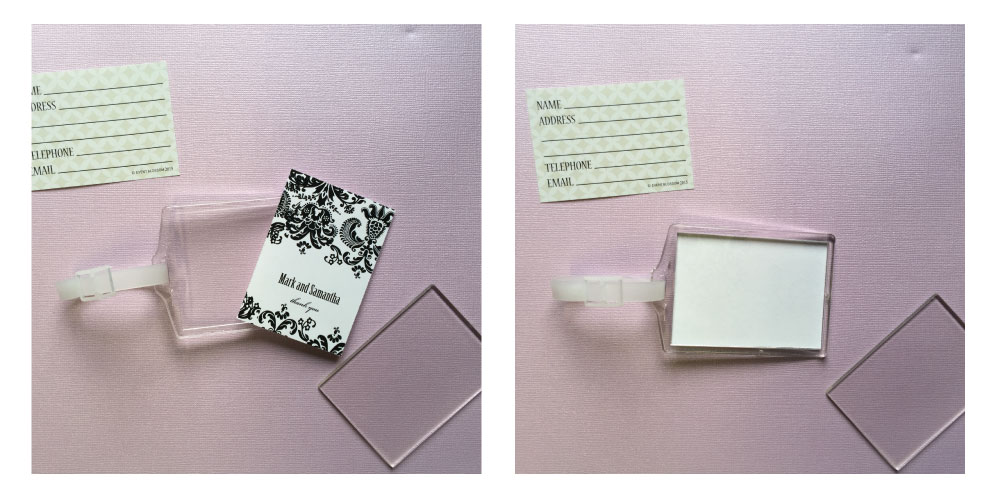
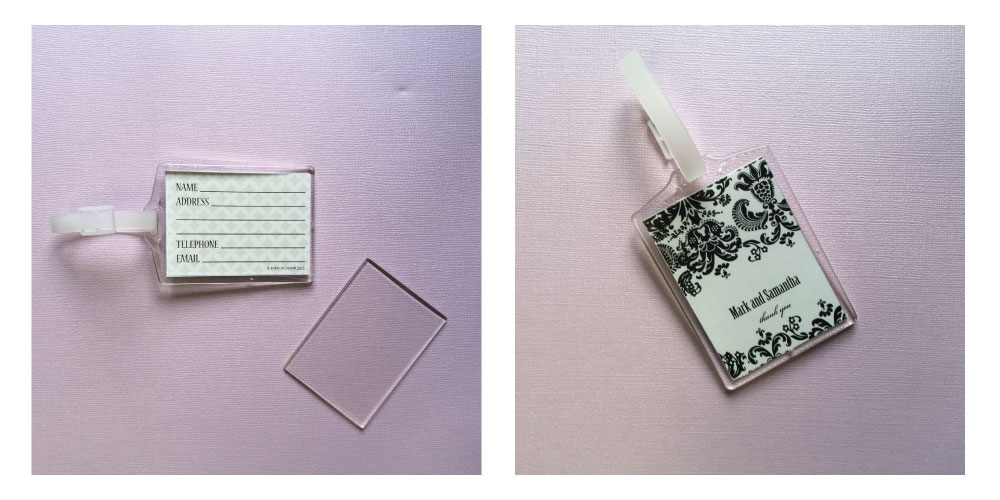
Place your personalized luggage tag insert in the acrylic tag face up and snap the back plate back into place.
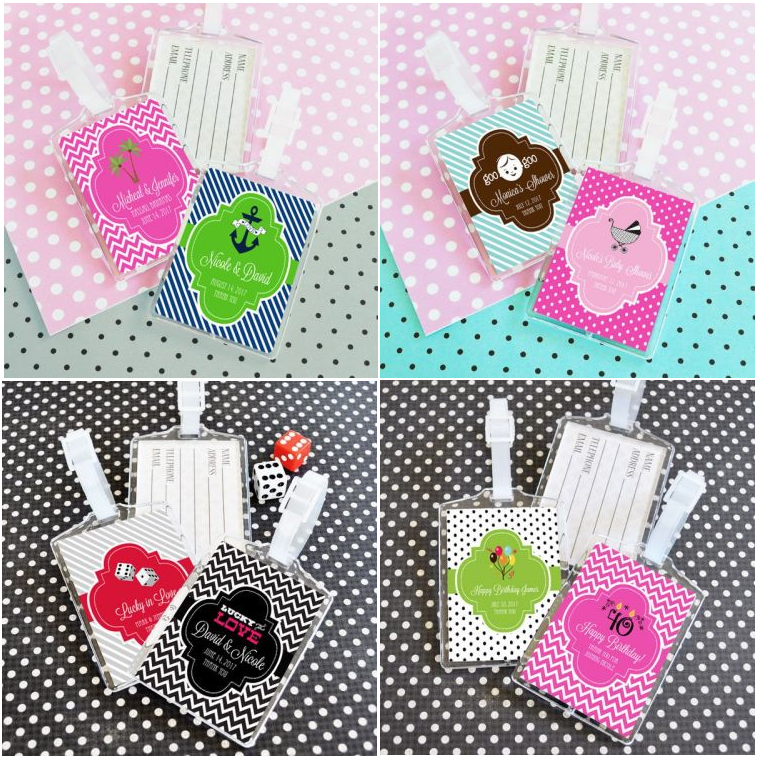
We have many different designs available for our custom luggage tag favors, including a blank DIY version, so your customer can purchase this item for any event! See some of our options below.
Check out all of our destination themed wedding favors we offer to customers by clicking here!
We hope this helps you and your customers!
Until next time,
Julie