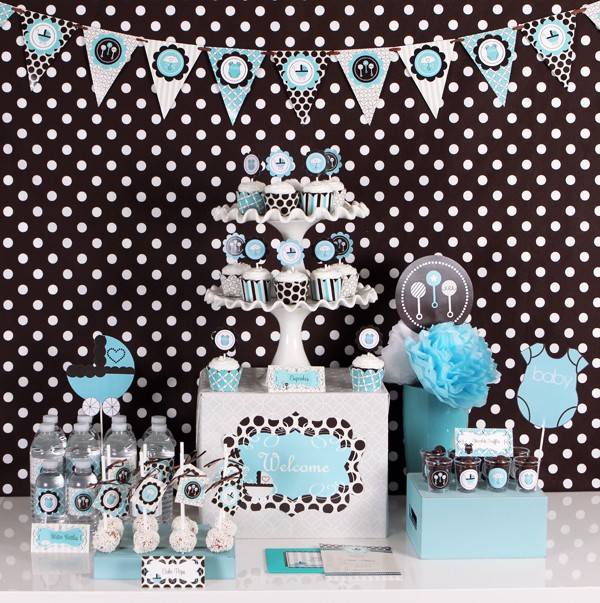
So you found out that your little bun in the oven will soon be a bouncing baby boy and you can finally place that order for the Blue Baby Shower Mod Party Kit! It’s got everything you need to decorate your baby shower in style and that brilliant brain of yours is bursting with creative ways to use it.
Now take a moment and visualize this scenario with me:
There’s a knock at the door…You open it and discover that your Mod Party Kit has finally arrived! You tear open the box and dump its entire contents onto the floor before you. As you excitedly go through all of your shiny new toys, you pick up the invitations… After those first few seconds of thinking, “Ohmygosh, these are so cute!” one tiny, little detail begins creeping into your head: “how am I supposed to print anything on these?”
Does this sound familiar? I have to admit, this has happened to me…a lot. Not necessarily with our party kits, but I can’t even begin to count the number of times that I have bought labels or custom designed paper only to realize that I have no idea how to print them out. Addresses would print out halfway on one label and the other half on the label next to it; my message would print out on the border of a decorated sheet of paper; or my printer ate it (I swear, the printer was out to get me!). That being said, I completely empathize with those of you who have been inquiring about how to print your invitations. Here’s what I did:
- Open up Microsoft Word
- Go to File > Page Setup
- Under the Margins tab, input the following measurements:
top: 2.75″, bottom: 1.25″, left: 1.25″, right: 1.25″ - Under the Paper tab, change the paper size to:
width: 5″
height: 7″
orientation: portrait - Press OK
- Type your message, my example is aligned in the center
- When you’re ready to print, go to the print menu (File > Print)
- Click Properties
- Change the paper size (either to 5″x7″ or just “custom size”)
- Press OK
- Print! (make sure you know which way to feed the invitations — this varies amongst printers)
And then…
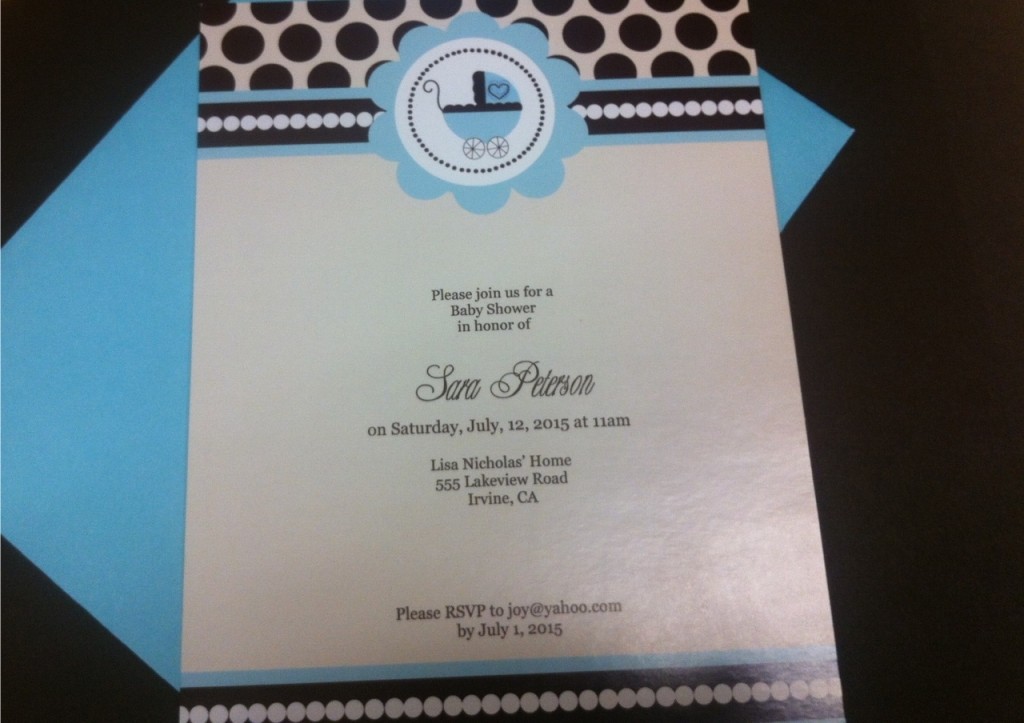
These directions were created using Microsoft Word 2003, however they should be easily translated to fit newer versions of Word as well as other word processors. Don’t be discouraged if it takes a few tries to get right, and definitely do not hesitate to comment with any questions you may have.
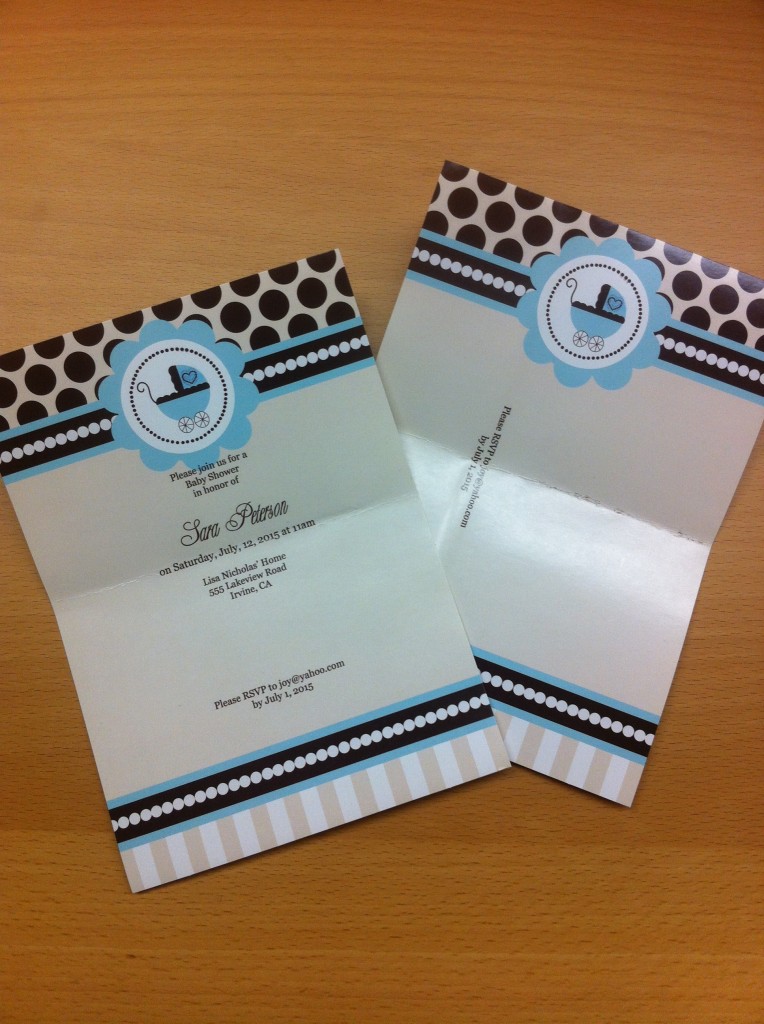
I know that you have a limited supply of these per kit, so here’s a simple technique to avoid wasting all of your invitations:
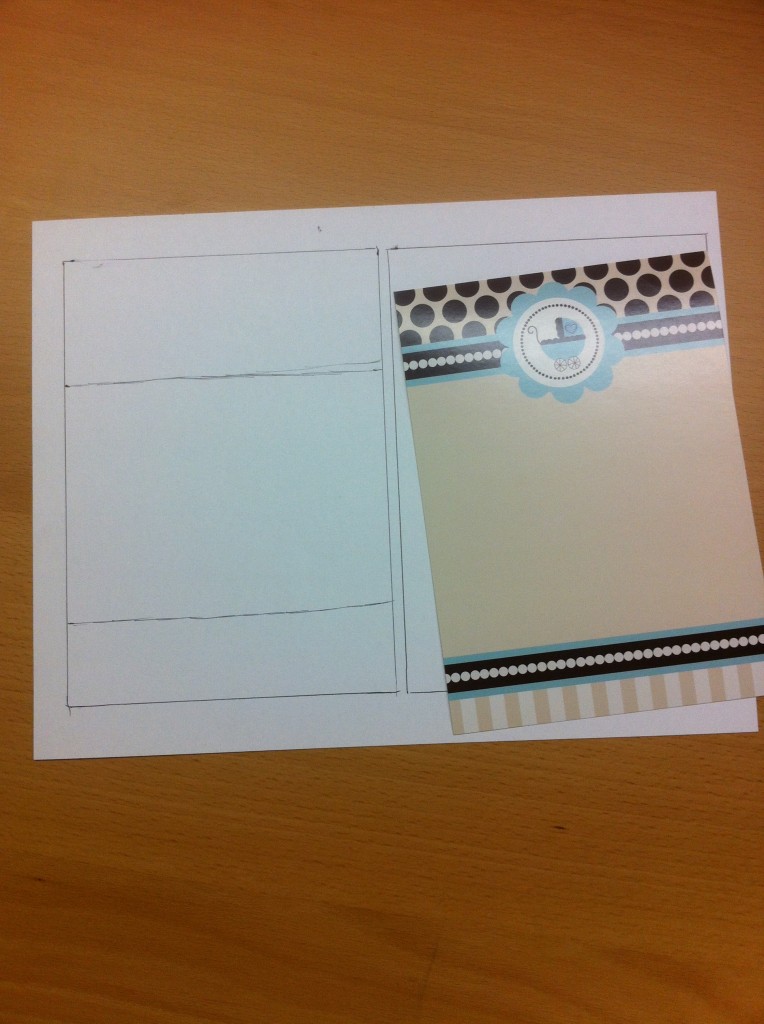
- Take a plain sheet of cardstock (regular paper will work just fine too)
- Trace an invitation onto the cardstock (you can fit two of them per 8 1/2″ x 11″ sheet)
- Mark off where the borders are located (approx. 2″ from the top and 1.25″ from the bottom)
- Cut out and use as “test invitations”
Now that you’ve got the invites out, it’s time to dig into the rest of the party kit supplies and get creative. I know that Kate over at Sugar Therapy sure did and members of our Event Blossom Team were the lucky guinea pigs for these treats:
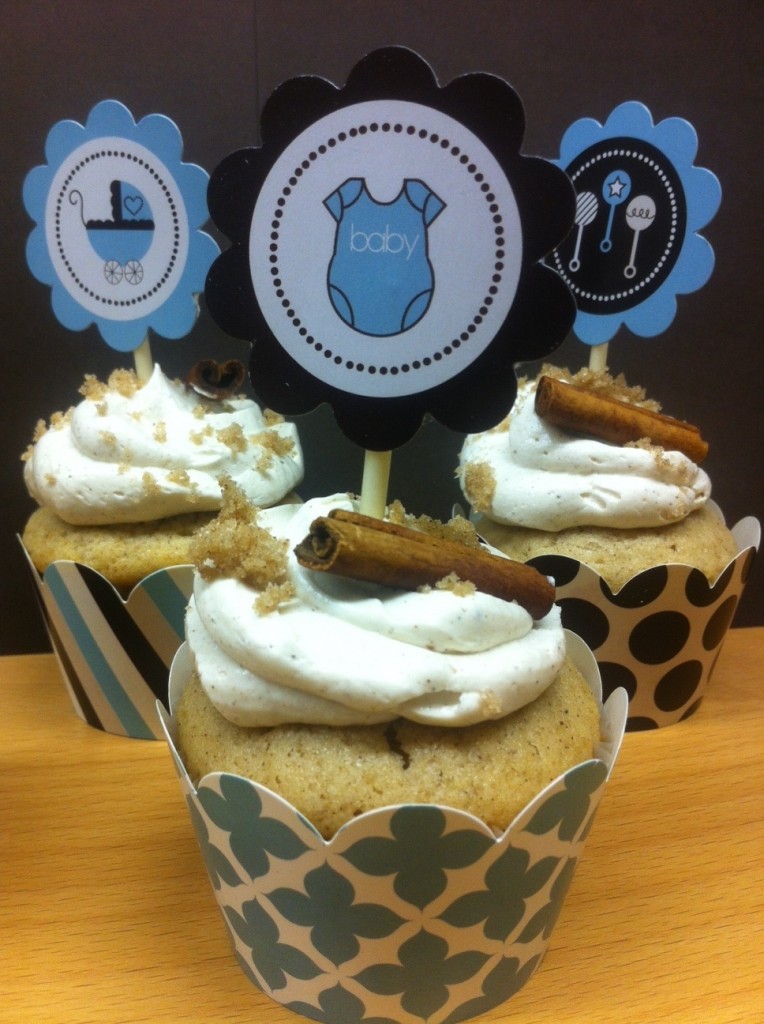
Click on either of these images to check out the full recipe for these Cinnamon Sugar Cupcakes on Sugar Therapy!
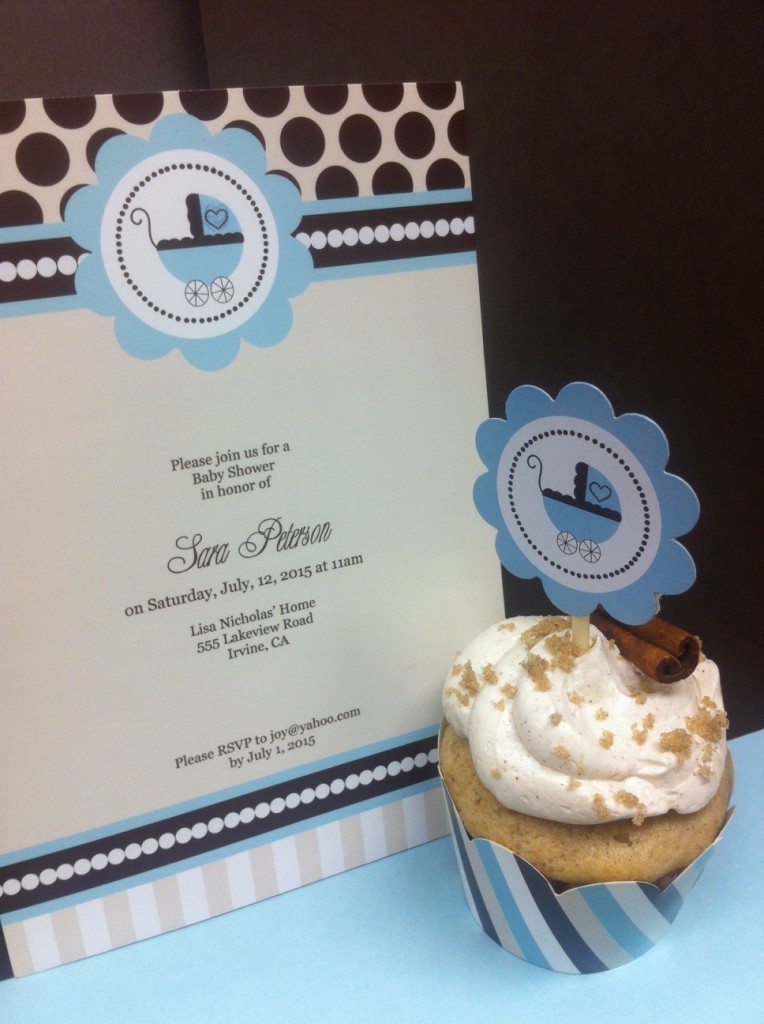
Check back next Friday for a new Mod Party Kit post! Until then, I’m always up for some fun conversation — leave your comments below!
Kimi

